
WOW...I am SO glad that the weekend is here and that my hubby is now home again! It was a crazy, busy week while he was in Georgia for work BUT I survived! While he was gone I finished the presents I made for our moms...I know...its a week late! BUT I did them, right?!

First off I purchased these items at Joannes and then found the bags at Michael's for under $10!

Pictured is co-ordinating fabrics for each bag (I ended up using 2 fabrics per bag instead of 3), fabric paints (I used a different color per child), and fabric markers (My first time using them and they are pretty cool!).
My idea behind the bags were I wanted one side to be "cutesy" kid made bags that Grandma would be excited to show off...but I wanted the other side to be pretty so that she can wear that side facing out if she wanted!
I started out by squirting fabric paint onto my child's hand...spreading it out with a paint brush (I had kid brushes nearby so I snagged theirs!). I made sure to have a nice thick amount of paint on each kiddos hands and that it was brushed perfectly over the palm, heel and fingers.


You will then tell them to spread their fingers (I found this easier to place and press!) and then gently set their hand on the area of the bag that you desire. I went oldest to smallest on our bags!


You can see that Mushy wiggled her fingers when I placed her hand down! She liked the feel of the paint on her fingers! Now, be sure to have the kids not touch their own clothes! This will not come off! It will wash off their hands with soap and water!
When your bag is dry let the kids write their names nearby their hand (I helped Noah and then let him "write" below it!)

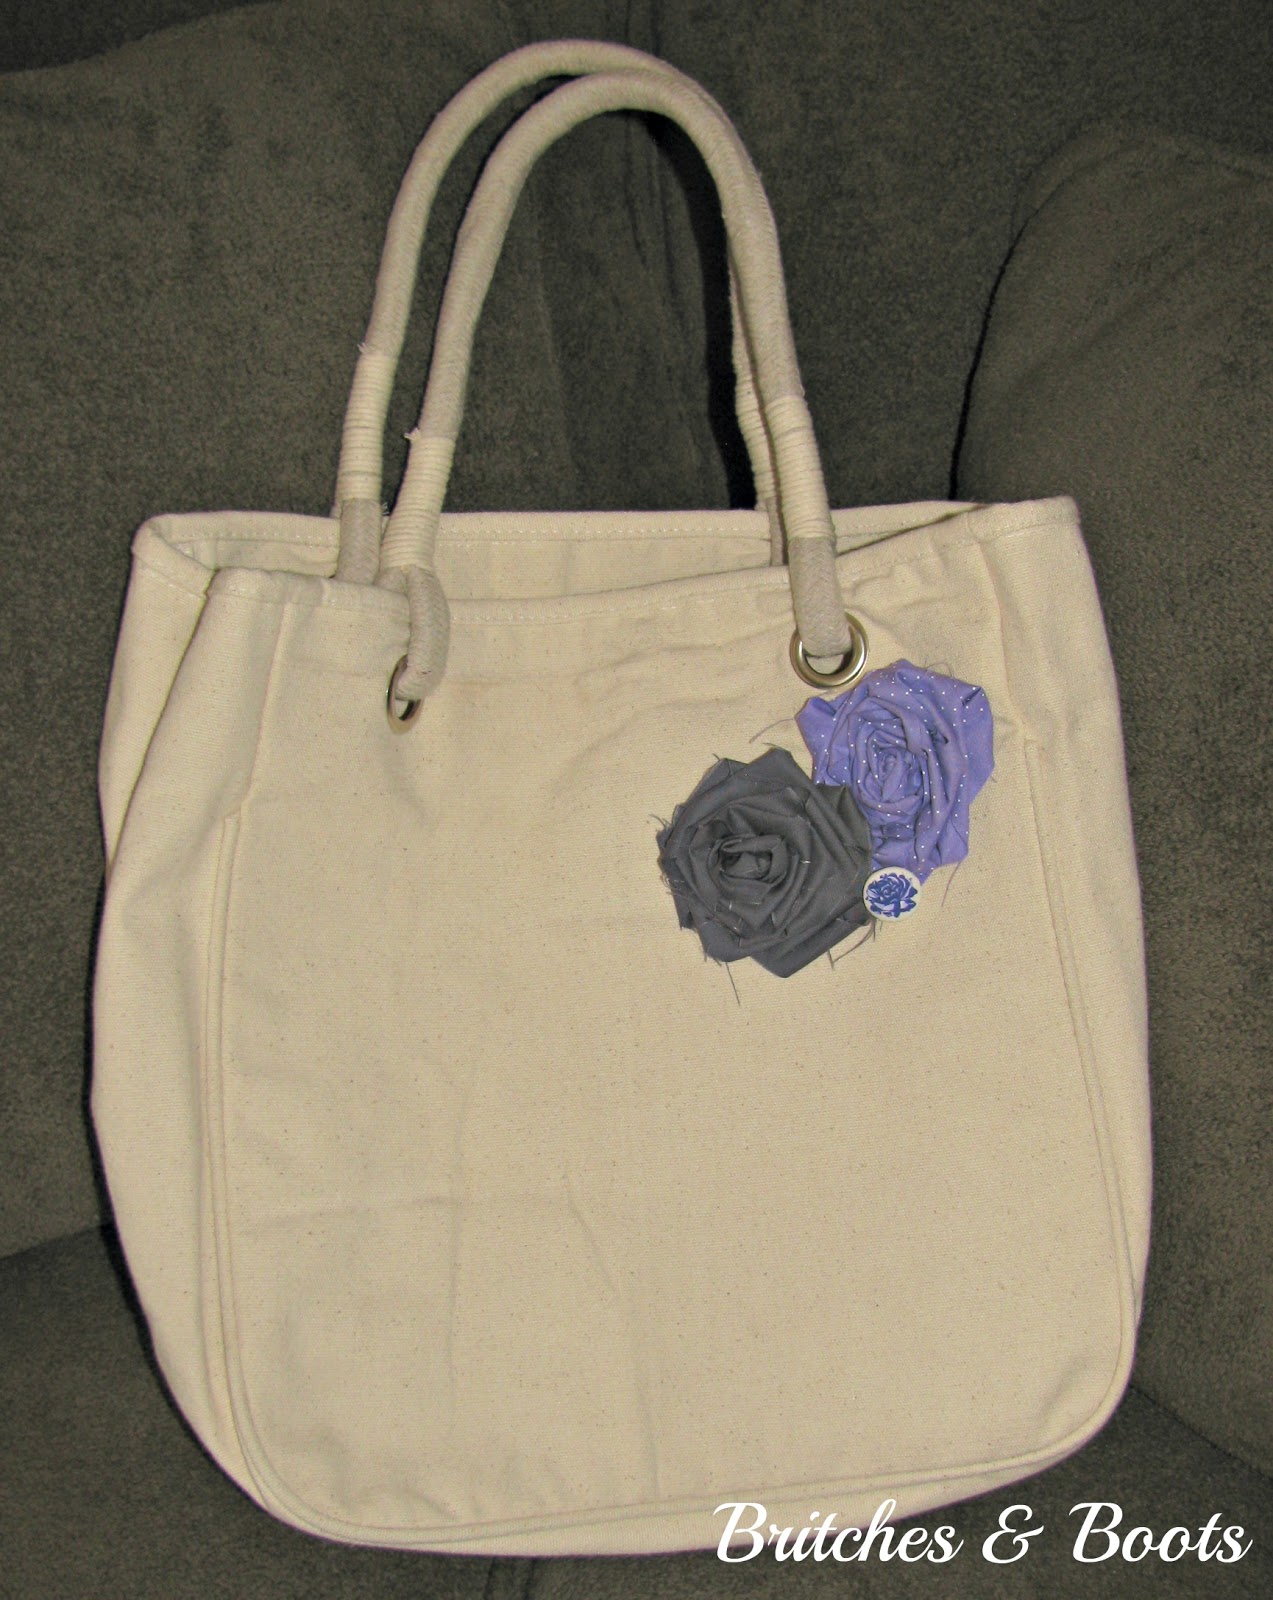
Now that you are done with that side...flip it over and you can make/attach your rosettes! I have a tutorial HERE on how to make your rosette flowers!
All I did was first play with where I wanted the flowers and fabric button to go and then I used my E6000 and globbed a nickel sized bit on the back of each flower (smaller amount on button of course!) place them where I wanted and then let it dry for 24 hours! Voila! Done!


4 comments
What a Cute idea! Might have to do that for my Grandmothers they will love it!
ReplyDeletexo
Oooh I wanna see em' when you are done Shan!!
Deletesooo sooo cute. you are soo talented girl =)
ReplyDeleteYou are too sweet Julie!!
Delete